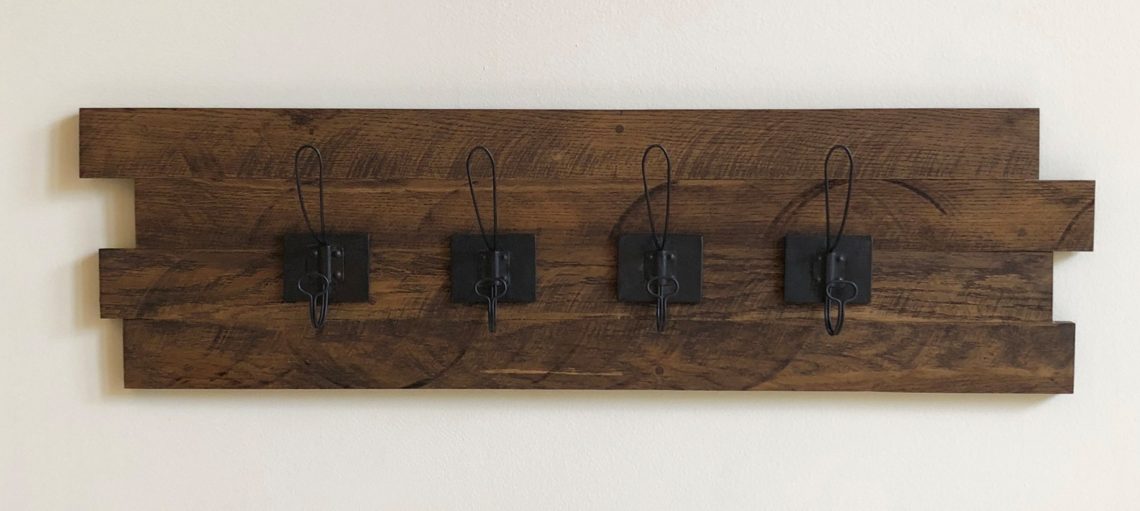
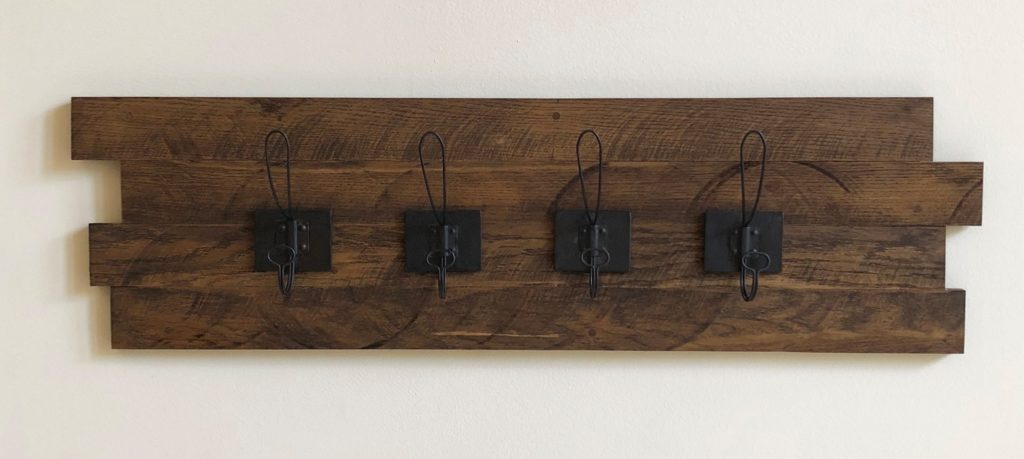
DIY Rustic Farmhouse Style Coat Rack
I love using old wood I have lying around to make custom home decor items. First, it’s inexpensive. Secondly, I can customize the piece to fit my space exactly right. Thirdly, I get rid of old scrap wood that is filling up my garage! Have I convinced you yet to give this a try?
In the following tutorial I am going to show you how to make a rustic farmhouse style coat rack. If you are looking for other easy farmhouse style projects, don’t forget to check out my $5 Blanket Ladder tutorial.
Sign up here to get notified of new blog posts via email!
- Gather your supplies: I bought the rustic hooks from Hobby Lobby. Hobby Lobby always has sales and coupons to use so don’t forget to use one! Here’s a 40% off coupon (top right corner of the page calls out the 40% off coupon). For the wood, my husband had some oak boards from his workplace that they didn’t want anymore so we simply used those. You can really use any wood you want. It just depends on your personal preference and what you have lying around.
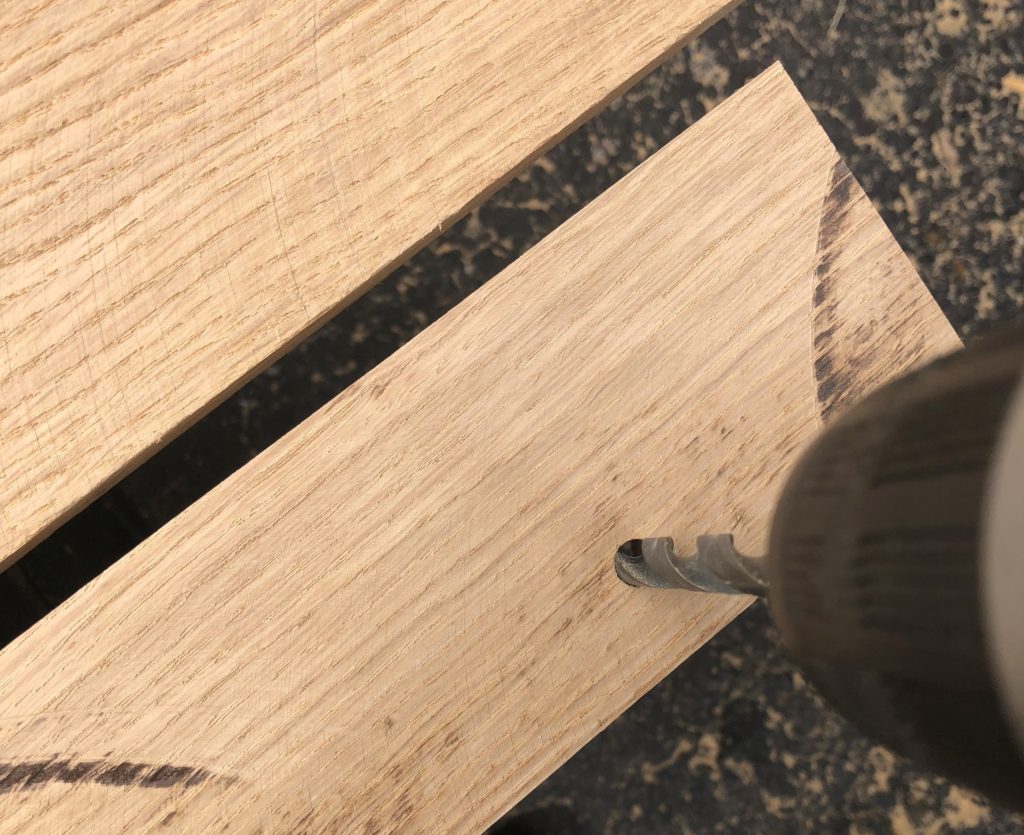
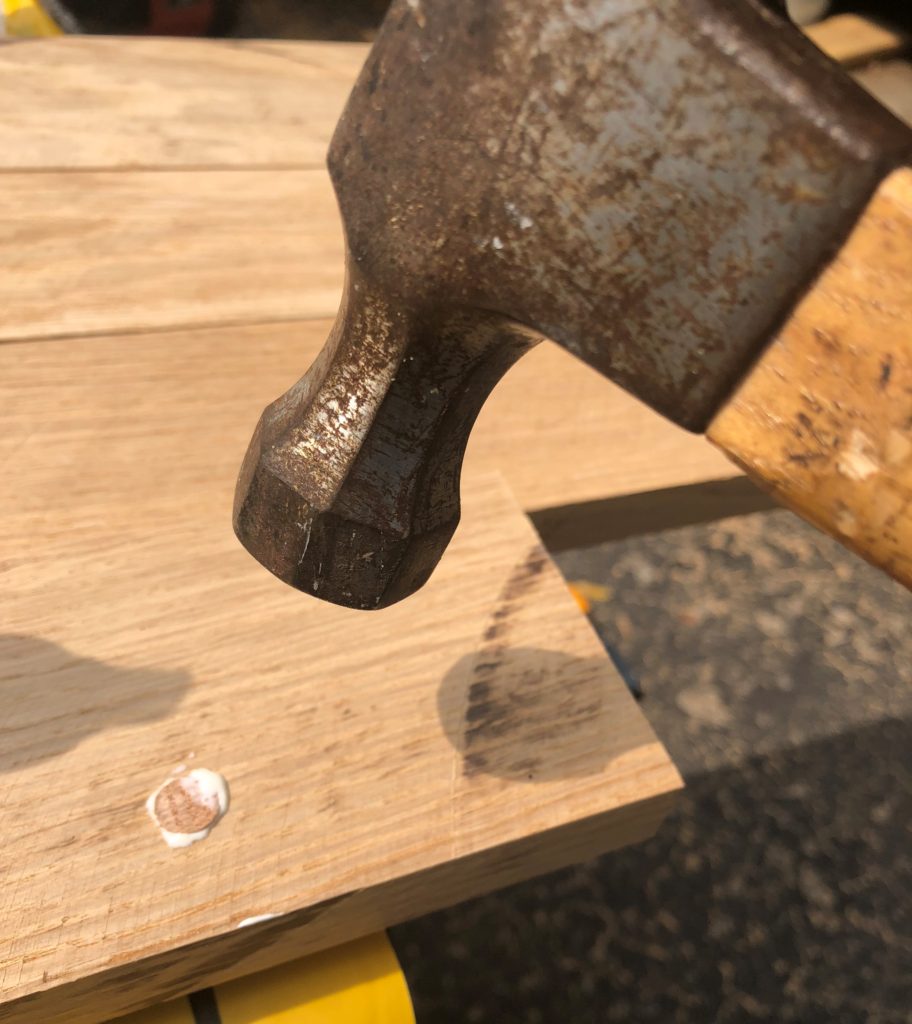
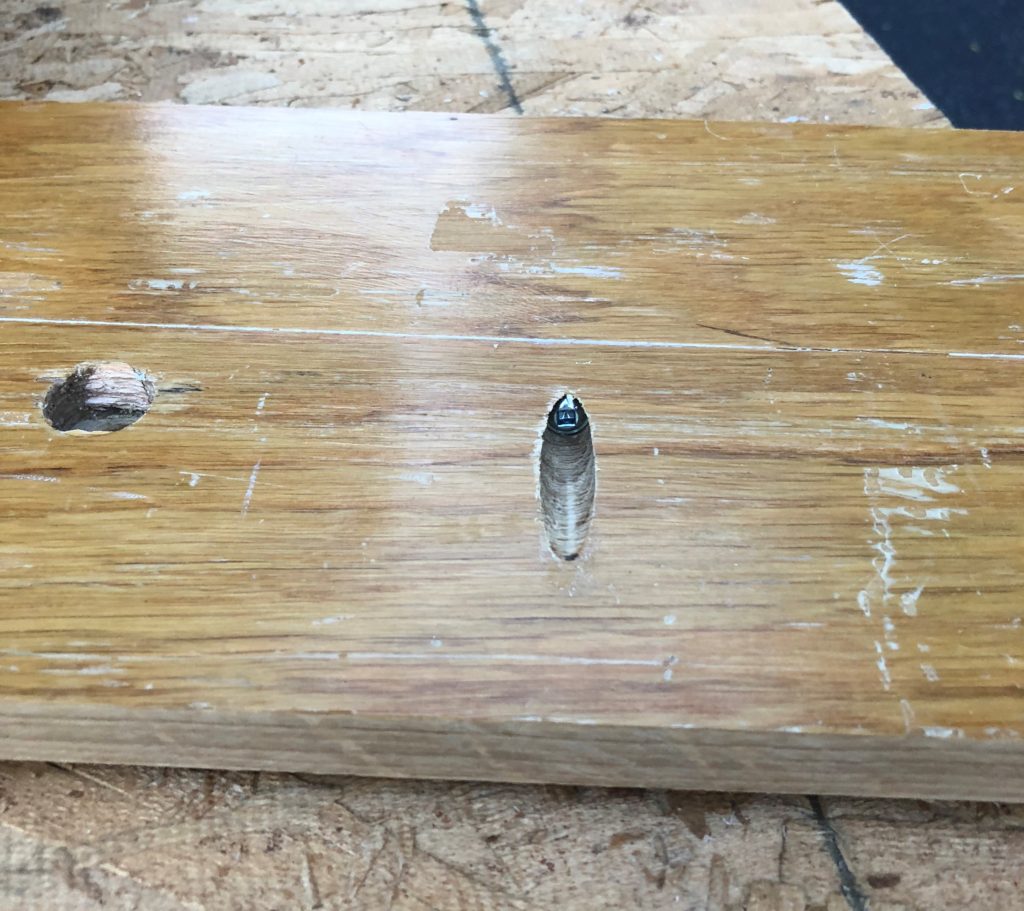
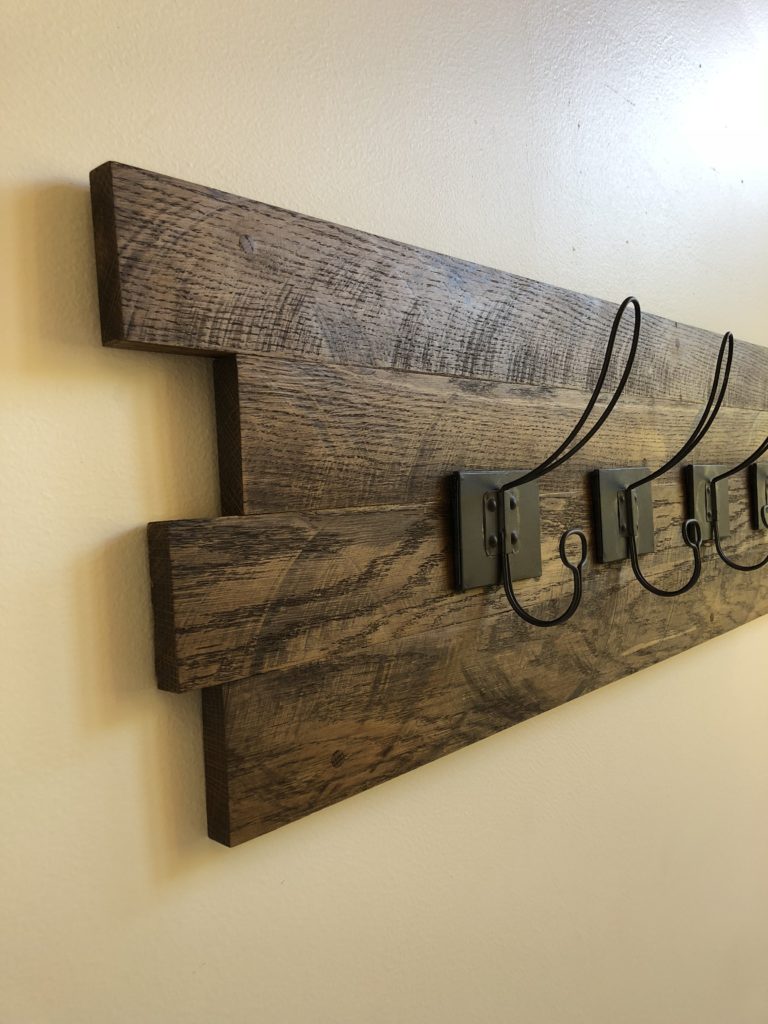
- Prep your wood: The prep work will depend on what type of wood you buy. If it’s already sanded down and the size you want, you might have minimal prep work. For our boards, we cut them in half length-wise using a table saw. This was because the boards were too thick to start. The rustic circular marks on the wood that you see in the final picture were made by the table saw. Next we filled the random holes in the wood using wood plugs.

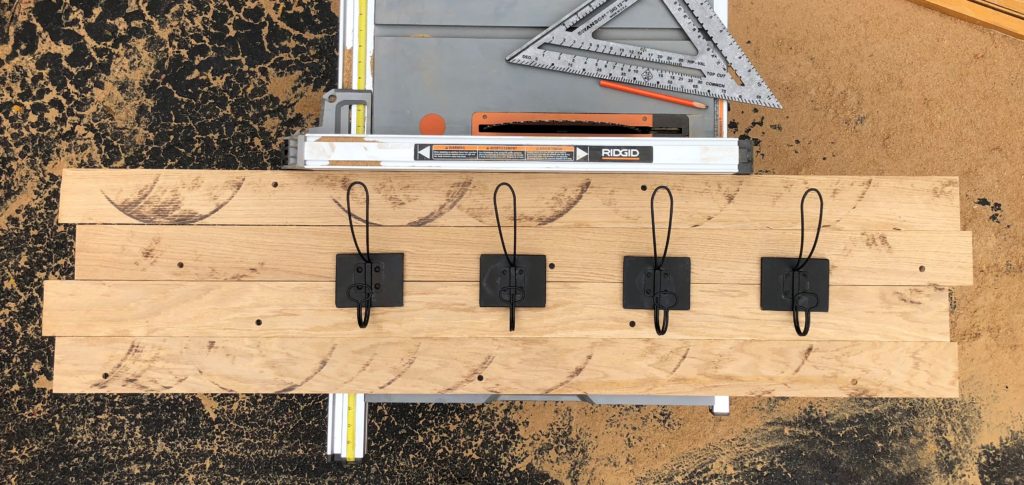
- Cut your boards to the right length (and determine how many boards you want to use): I laid it all out as you can see below in order to determine how many boards I wanted to use and what the length of each one should be.
- Connect your boards to one another: We used two methods for this since our boards were very heavy oak. We used both glue between the boards and pocket screws on the back side. The important part here is making sure that the boards are tight together and aligned perfectly. Otherwise you’ll end up with a finished product that isn’t smooth on the front.
- Sand it: Now you should have all your boards together so you can sand it smooth. We sanded using a random orbital sander.
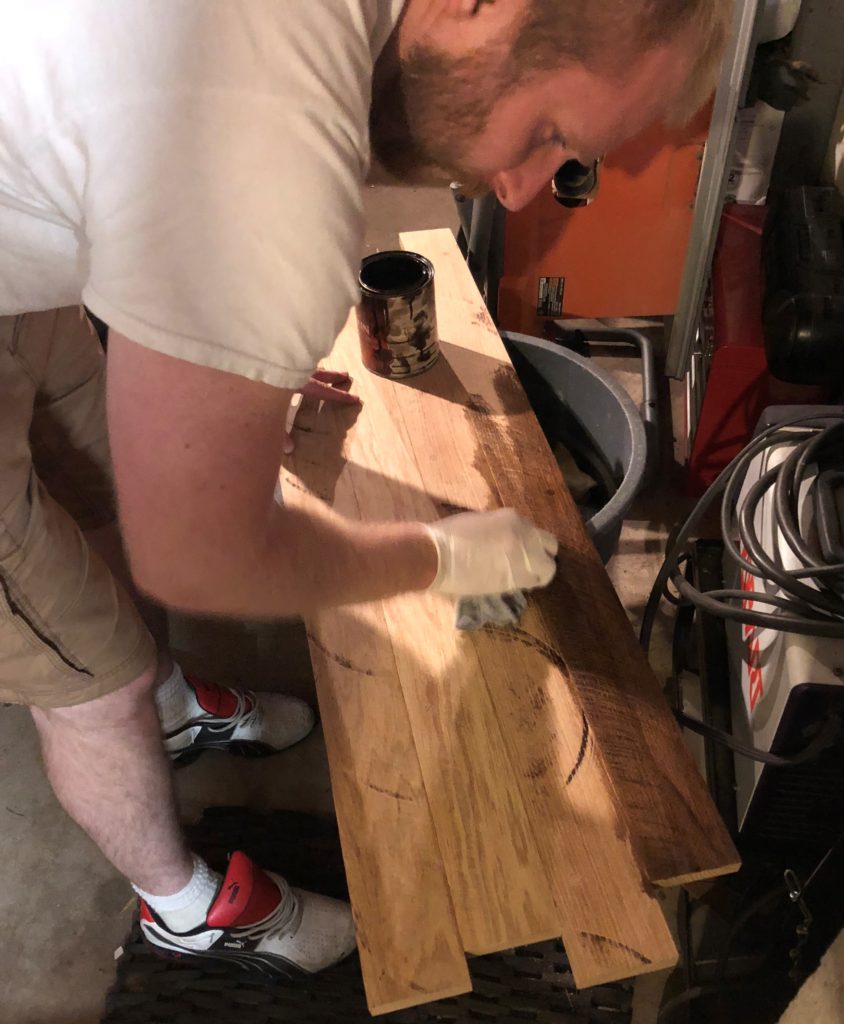
- Stain it: You can choose any color stain you like. I chose Espresso since I prefer a darker stain. You can look through the different colors available from Minwax here. Below you can see my husband wiping on the stain with an old shirt. Then he simply wiped it off after a few minutes. The longer you leave it on, the darker it will get. You can also do a second coat if you want it darker than what you get the first time you do it.
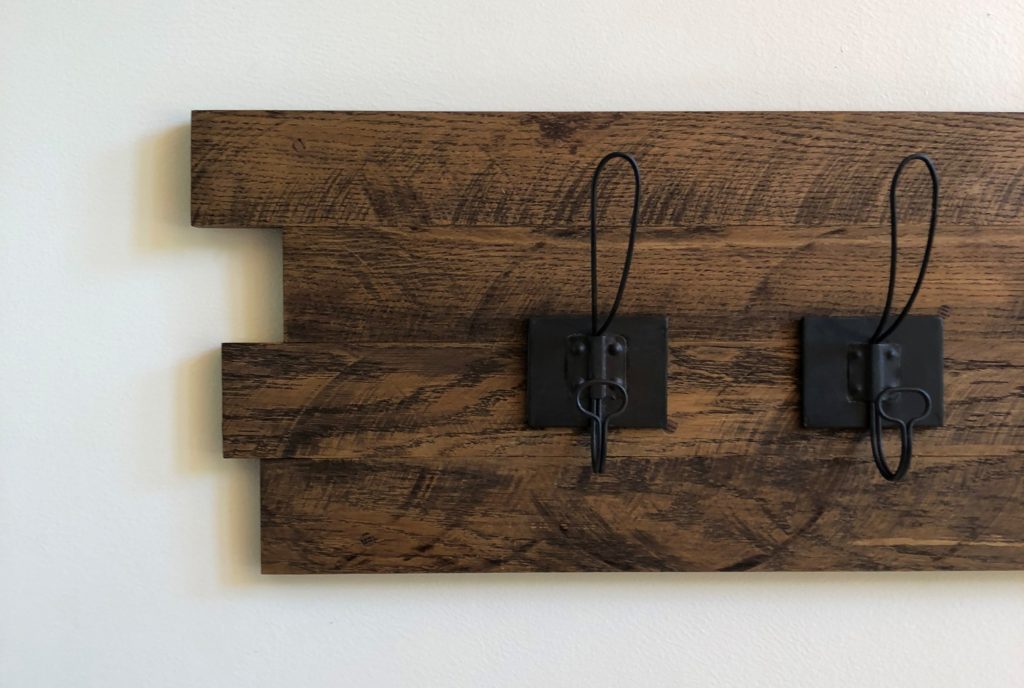
- Add the rustic hooks on the front: This will take a lot of measuring. You’ll want to ensure that you place the hooks an even distance apart from one another so it looks really nice. Just keep measuring and nailing or screwing them on. We used screws since they would ultimately hold better.
- Add your mounting hooks to the back and hang up!: Since our wood was very heavy, we used heavy-duty mounting screws and hooks to ensure that it wouldn’t ever fall down. This really just depends on the final weight of your project.

Now you’re done! You have yourself a rustic coat rack that you can use for coats and keys or just use for decorations. Looking for more ideas? Check out my DIY Planters, DIY Hanging Flower Vases, and Simple Farmhouse Style Entryway Bench. Better yet, sign up here to be emailed when I add new projects to my blog.


One Comment
Cathy
Love it!!!! Such a rustic look.